Creating a Journey
Build journeys to guide users through your app with timely messages.
You need Edit Access to create journeys.
Step-by-Step: Creating Your First Journey
Step 1: Name Your Journey
Give your journey a clear, descriptive name that helps you identify it later.
Examples:
- "Welcome New Users"
- "Re-engage Inactive Users"
- "E-Commerce Checkout Flow"
- "Feature Discovery Tooltip"
Best Practices:
- Use descriptive names that indicate the journey's purpose
- Include the target audience or use case
- Keep names concise but informative
Step 2: Configure the Entry Node
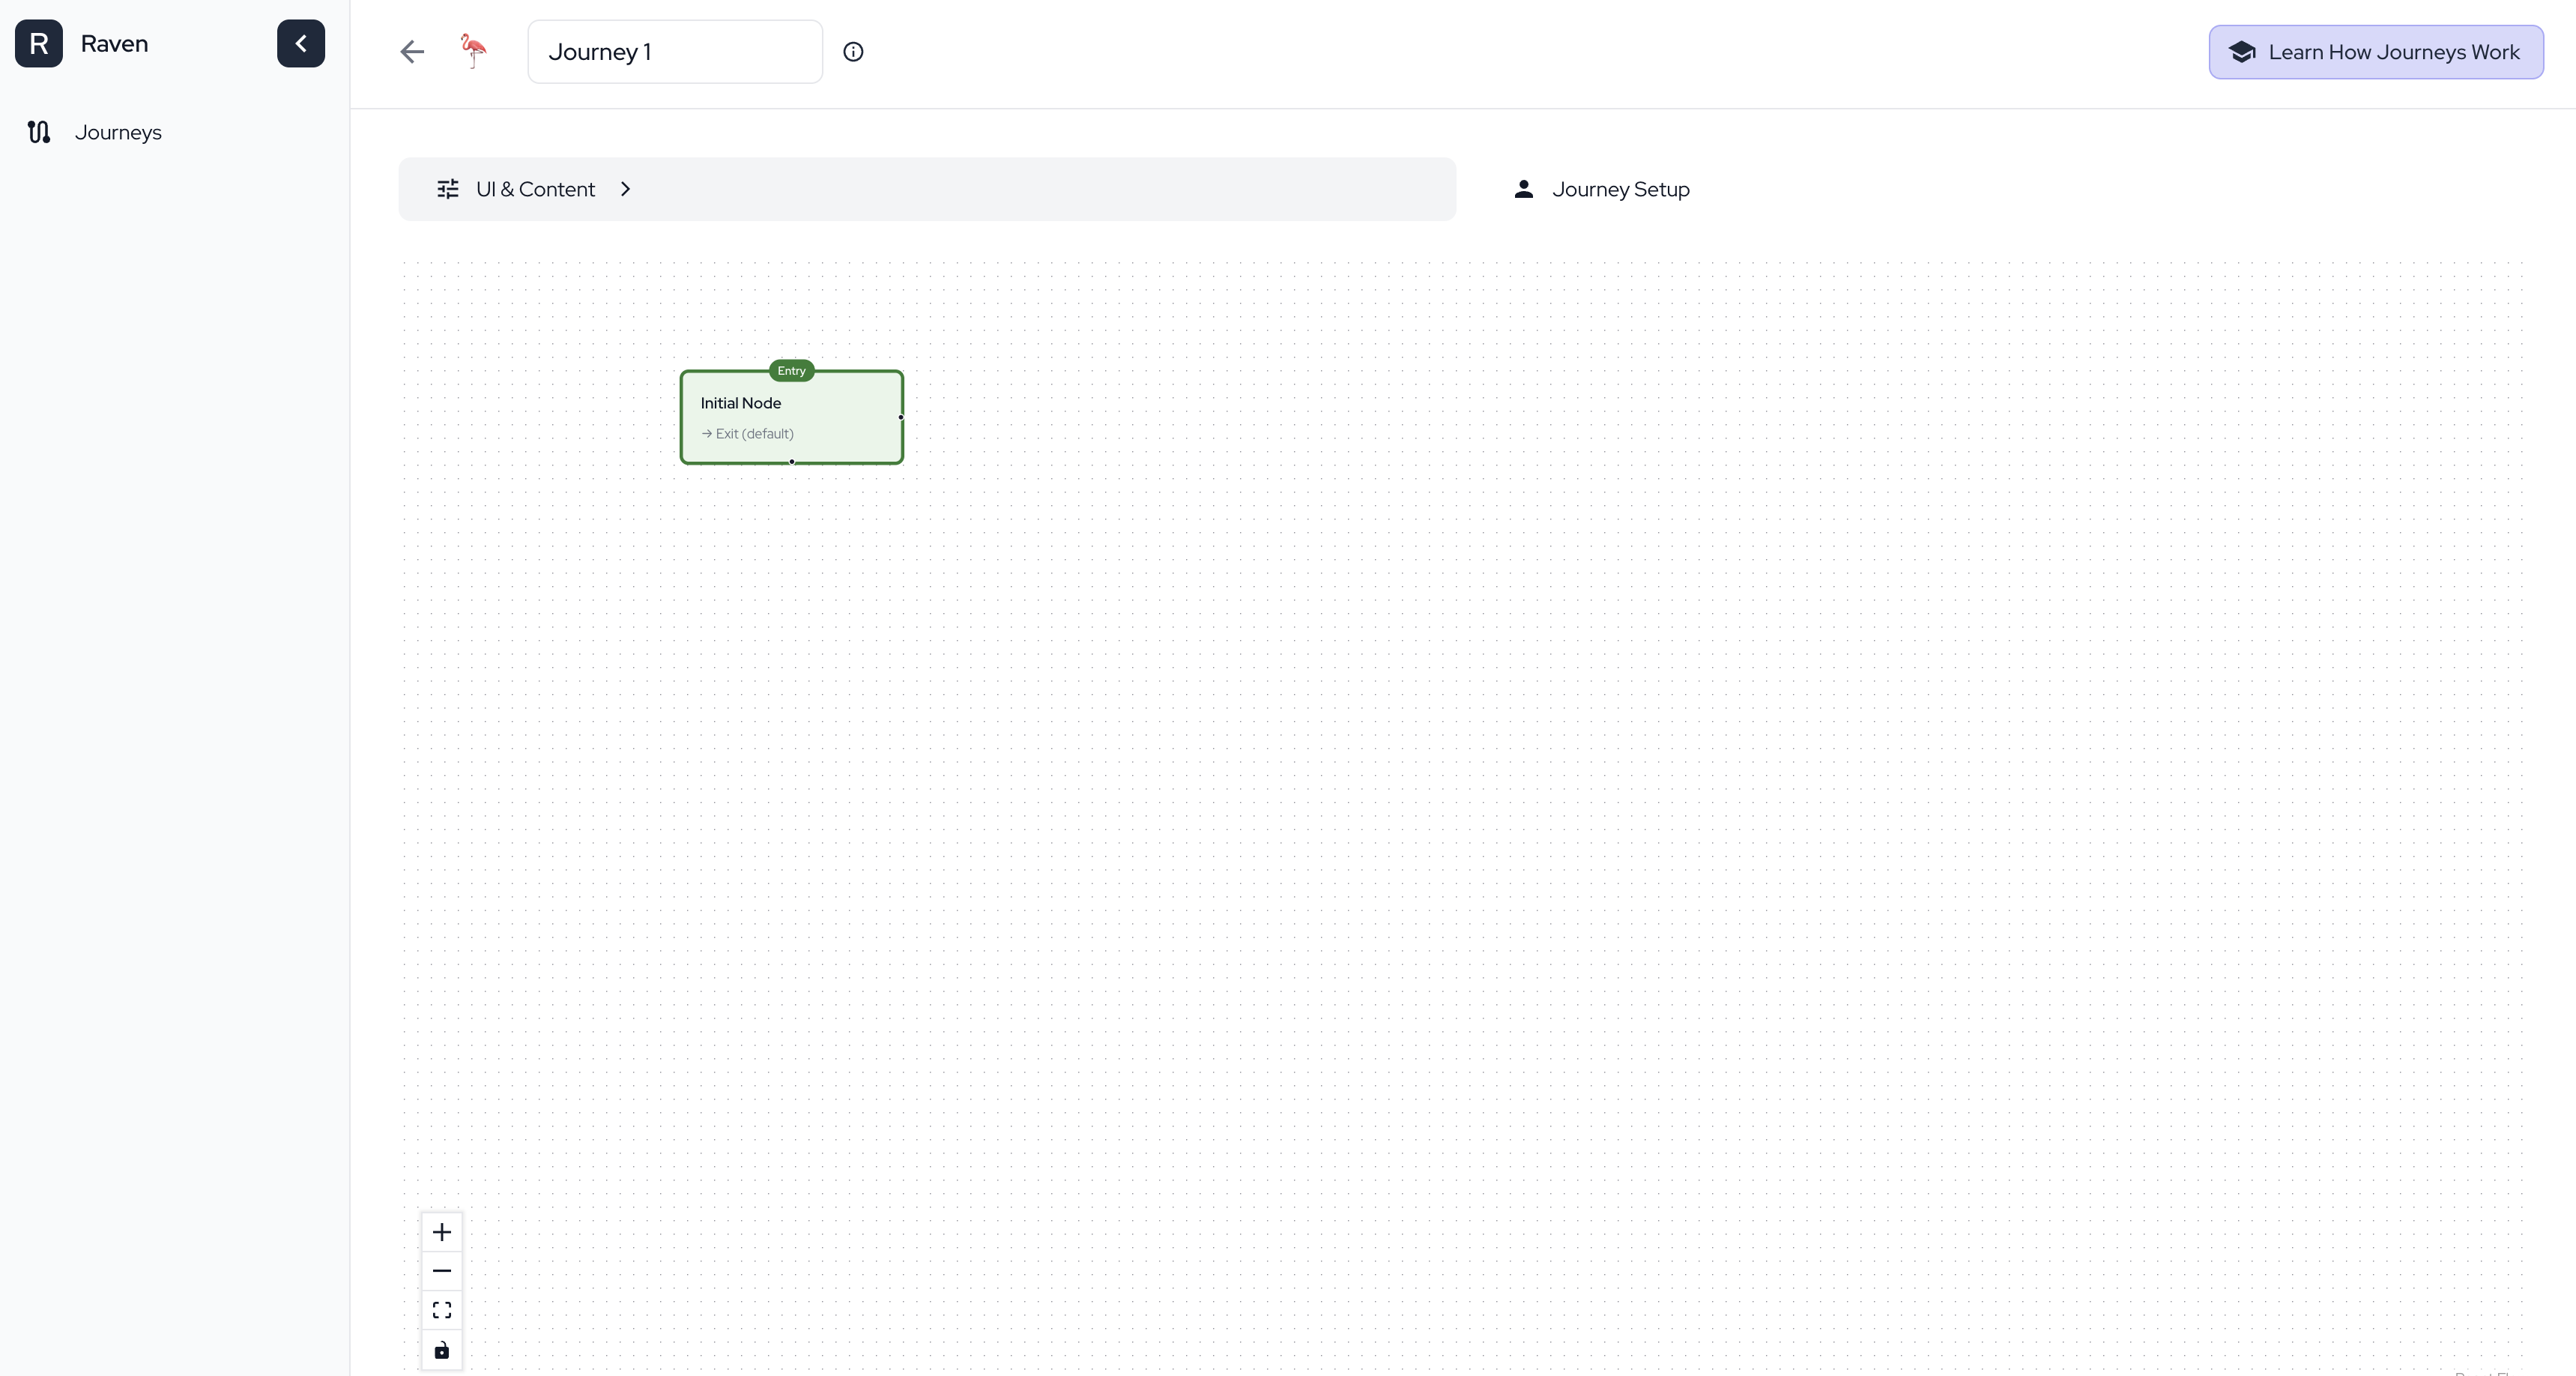
You'll land on the "UI & Content" tab with a canvas showing a green Entry Node. Click on it to open the configuration panel.
Select an Event:
- Find the "Event" dropdown in the configuration panel
- Choose the event that triggers your journey (e.g., "User opens app", "User signs up", "User logs in")
- Optionally add filters to make the trigger more specific
Example: Event "User opens app" with filter "User is logged in" = true
Step 3: Add Engagements (Optional)
Add popups, tooltips, or bottom sheets that users will see at this step.
How to add:
- With the node selected, find the "Engagement" section in the configuration panel
- Choose the engagement type (Popup, Tooltip, or Bottom Sheet)
- Configure the content, styling, and behavior
- Preview how it will look to users
Note: Engagements are optional. You can have nodes that just track events without showing anything to users.
See Engagements for detailed guidance on when to use each type and how to design them.
Step 4: Set Up Transitions
Define what happens next in your journey.
How to add a transition:
- Click on the node you want to transition from
- Find the "Transitions" section in the configuration panel
- Click "Add Transition"
- Select the target node or choose "Exit" to end the journey
Add Rules (Optional):
- Click "Add Rule" to add conditions that must pass for the transition to occur
- Select the property, operator, and value to check
- All rules must pass for users to progress
Example: Transition from Entry Node to "User Clicks Product" with rule "User is logged in" = true
See Transitions & Rules for detailed guidance on rules and operators.
Step 5: Save and Configure
Save Each Node:
- Click "Save" on each node after configuring it
- Ensure all nodes are properly connected with transitions
Configure Your Journey: Go to the "Journey Setup" tab to configure:
- Cohorts - Who sees this journey
- Frequency - How often users see engagements
- Scheduling - When the journey runs
See Journey Configuration for detailed instructions.
Step 6: Publish
Once configured, you can:
- Save as Draft - Save without publishing (journey won't be active)
- Publish - Make the journey live immediately (requires Publish Access)
- Schedule - Set a future publish date (requires Publish Access)